
How to replace the front shocks on a Ford F 350 Super Duty
How to replace the front shocks on a Ford F 350 Super Duty
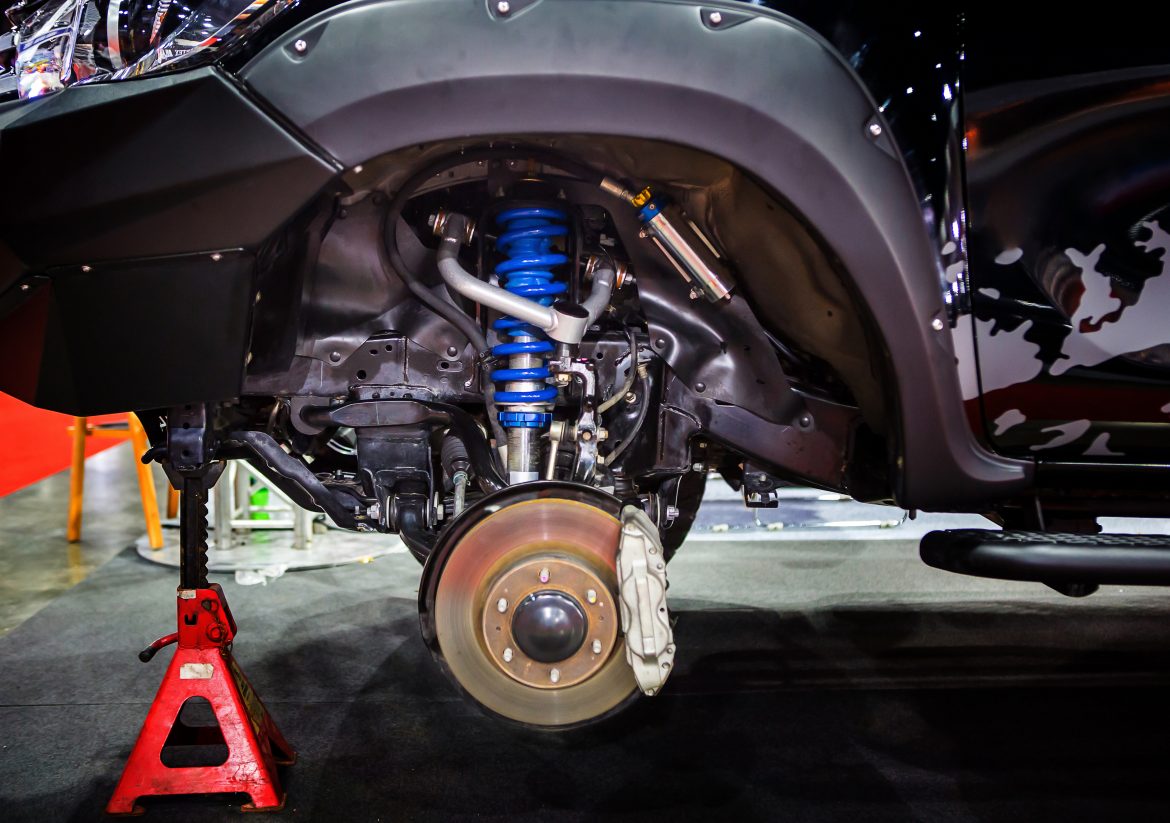
Shock absorbers use compression technology to dampen the effect of unevenness in the road surface. A shock absorber is basically a steel tube with a cylinder bore and corresponding tube with a piston. The ends of each tube have appropriate fittings to attach to the automobile or pickup truck. Inside the cylinder is compressed nitrogen. One end of the shock absorber connects to the frame of the vehicle. The other end connects to the A frame arm on which the wheel is attached. This arm is connected to the vehicle with a hinge that allows it to move up and down, and then a large coil spring is attached to the arm, then to the frame of the vehicle. When the vehicle moves along, the suspension allows it to ride smoothly.
The shock absorber prevents excess and erratic up and down movement of the wheel. When a vehicle moves at low speed, say two or three miles per hour, the wheel will gradually and progressively follow the contour of the surface that it’s rolling upon. However, when the vehicle’s speed increases to say 15 or 20 miles per hour, the wheel will begin to bounce. This is the result of two things. First the compression and release of the energy in the coil spring, and second the compression and release of energy in the tire.
If you remove the wheel and tire from the vehicle and drop it on a concrete surface from about three feet so that the treads side of the wheel will contact the concrete, you will see that the wheel will bounce up and down considerably. Combine the bouncing of the wheel with the compression and release of the spring, and you can begin to see how a problem can develop, particularly if both movements are in sympathy rather than opposition. The shock absorber conditions and ameliorates this particular action.
Due to the characteristics of different vehicles for example a compact car, moving up to a pickup truck, moving up to a heavier truck, the exact shock absorber that’s necessary is different in order to accommodate the weight and driving characteristics of that particular vehicle. Therefore it’s important to have the correct shock absorber. To determine the correct part for your vehicle contact your local Napa Auto Parts Center, Pep Boys, or go on line. With the correct shock absorber in place the wheel, under normal driving conditions, will maintain contact with the road surface, and avoid bouncing.
How do you know when you need a new shock absorber? A new shock absorber that is simply weak and not performing up to spec will end up in minute up and down movement, the result being cupping along the outside edge of the tire. On the other hand, if you have severe and fatal damage to the shock absorber, the result will be violent bouncing when rough road conditions are encountered. Either condition indicates that it’s time to replace the shocks. For the sake of safety and secure handling, swift action is indicated.
To replace the front shocks on a Ford Super Duty you need several things. First you need the correct shock absorbers. Keep in mind they must be replaced in pairs so that everything matches up and both sides of the vehicle perform the same. For tools you need a ½” drive ratchet with a 21mm deep socket, a universal joint, an 18” extension, a ½” drive torque wrench, 20 and 21 mm combination wrenches, and a 21 mm ½” drive shallow socket. In addition, you will need safety goggles, and 10 and 18 and 12 inch mechanics pry bars, Break Free, or Liquid Wrench and a wire brush and diagonal cutting pliers. All the other items a fairly straightforward.
You need to pay special attention to the pry bars. The ideal item to get is a five piece pry bar set which will have all of the necessary bars for this project. There are many manufacturers of pry bar set such as Mayhew, Tekton, Milwaukee, Apex, Sunex, Craftsman, Vaughn and Tech Team. The one that we chose is one manufactured by Tech Team https://techteamproducts.com/ The Tech Team 5 piece mechanics pry bar set https://www.amazon.com/Mechanics-Prybars-Chisel-Angled-Rolling-Head/dp/B07CSBZ4ZM/ref=sr_1_11?s=power-hand-tools&ie=UTF8&qid=1540409708&sr=1-11&keywords=pry+bar+set has four
tempered steel mechanics pry bars that range in length from 8” to 18”. In addition, it has a unique and useful tool which has a drift pin on one end and a round head on the other end. The drift pin is extremely useful in installing the shock absorbers as it allows for the accurate and concentric alignment of the lower mounting bolt.
Anyway, so much for the nature and application of shock absorbers and the necessary tools to get the project moving. Now it’s time to get to work. Due to the height of the F350, it is not necessary to jack up the vehicle to replace the front shock absorbers. For the driver’s side simply turn the wheel hard right, now you can get behind the wheel and have access the shock absorber. The first thing to do is use the wire brush then apply Liquid Wrench or Break Free to the exposed thread portion at the top of the shock. This will help break down the rust so that you can unscrew this nut. To back off this nut you need to access the nut from the top inside engine compartment using the ratchet extension bar universal joint and 21mm deep socket. But before you start backing it off, you’ll need to use your 20mm open and wrench on the hex nut that is just on the top end of the shock absorber tube, but underneath the mounting point. You’ll be able to see this rather clearly. Put your wrench on this nut, and turn it so that it backs up against the frame of the vehicle. Don’t worry it will turn easily. Now you can use the ratchet from up above inside the engine bay to back off the nut. Once you have successfully removed this nut, it’s time to undo the lower mounting point. This is a rather simple matter of using a 20mm shallow socket and/or a 20mm combination wrench to back out the bolt. It should come out rather easily. As soon as you remove the bolt you’ll notice that the lower end of the shock absorber is jammed in between two ears. In order to remove it, put the 12” mechanic’s pry bar behind the shock absorber apply leverage and it will pop right out. Now it’s simply a matter of pulling down on the shock absorber to pull the upper end through the two grommets at the top. Once you remove the shock absorber, you will once again need the 12” pry bar to pry the two grommets out of their mounting point.
At this point use the wire brush and a rag to clean both mounting points upper and lower, and you will note that on the shock absorber there is a plastic girdle that prevents it from extending. Leave this in place. Put the one heavy steel washer with the lower grommet on the threaded shaft at the top of the shock absorber making sure that the relieved side of the gasket is facing up inside of the grommet. This relieved side will fit in to compatible opening in the top mounting point. Now put the upper grommet in place over the top of the threaded shaft making sure that the relief part is facing down. Both the relief parts of the upper and lower grommets will fit into a larger hole in the center of the upper mounting point which is in the upper spring housing. These protect the shaft of the shock from contacting the spring housing, and also provide it some flexibility and cushioning. Now put the upper steel washer in place and tighten the nut on the top.
At this point push the lower mounting point of the shock between the two ears at the lower mounting point and if it doesn’t fit easily, once again, you’ll need a mechanics pry bar. Use the 18” bar to gently lever the lower mounting point into place. At this point 99 times out of 100, you will note that the bolt will not fit into the hole because the hole in the shock is not concentric and aligned with the holes in the ears of the mounting point. This is because the holes are not lined up perfectly, and this is the point we need the drift pin. The drift pin is the long tapered and pointed end of the round head pry bar. By inserting this into the hole it will automatically and very effectively align the two ears with the lower mounting point of the shock absorber. You’re now able to put the bolt through the hole easily and match it up with the nut. The nut is not an ordinary hex nut. It has an extended finger on it so that you can hold the nut with one hand while it’s up inside the recess, which you could never access otherwise, and then thread the bolt into place. Once you have this hand tightened, use your ½” ratchet to tighten it up snug. At this point you will need your torque wrench to take this to 110 lbs.ft. Now we’re not forgetting about the nut on the top. This also must be tightened. Use your ½” ratchet to tighten this snug from the top of the engine bay. Once it’s snug, now engage the torque wrench, and tighten this to 45 lbs.ft. You’ll need to repeat this process on the other side of the vehicle and you’ll simply need to turn the wheels full left to access the passenger side shock absorber.
If all goes well the entire project should not take more than 45 minutes.