
How to Make Invisible-Hardware, Live-Edge Floating Shelves
How to Make Invisible-Hardware, Live-Edge Floating Shelves
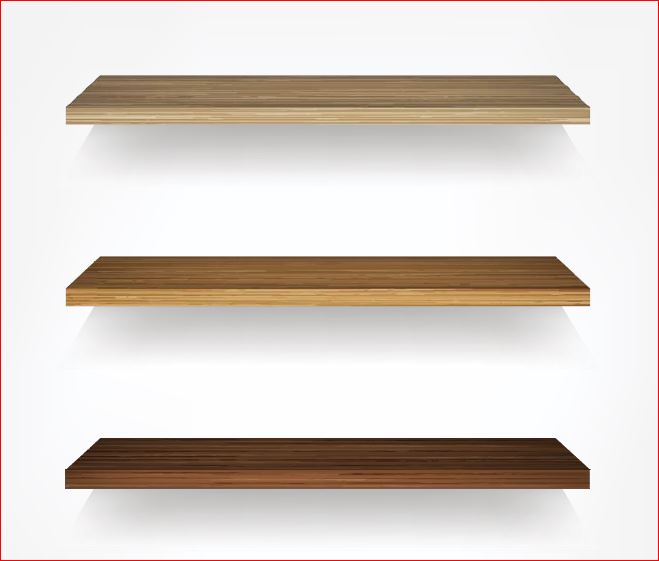
Today we are going to build a live edge floating shelf with no hardware at all. It’s just floating against the wall. Actually I take that back. There’s a little bit of hardware which you can’t see it at all.
Sounds like a neat deal.
This shelf started with a four quarter piece of some nicely figured spotted maple. We want the shelf to be more like a 1 ¼” thick so what I’m going to do is basically mirror this board and laminate it together to get that thickness that we want. Then we will have to creatively cut it to get a flat front edge, so that it doesn’t stick out further on one side of the wall than the other and recessed back edge to conceal the bracket. This is one of those projects we’ll figure that out as we go. We know how we want to mount it to the wall, which will be a little bit unique, the rest of the hurdles we’ll have to figure out as we go. We are going to start with a compound miter saw. The only things that we need to keep in mind are we want our shelf to be at least 24” wide and at least 8” deep x 1 ¼” thick, to give us a little wiggle room around those dimensions.
Now we need to lay out the parts before putting any glue on them to see which orientation of the boards gives us the least hangover on either side. There is some beautiful grain in there so hopefully the top looks as good. Now that the laminated boards are down to the thickness that we’re after and we have the front edge, we are going to reference from that to get a straight back line, and cut that out on the table saw, and then we’ll straighten that up with the jointer. That will give us our shelf dimensions with a flush back. The front be exactly parallel to the back, and will be close enough for a live edge shelf.
The shelf has a nice flat back with the thickness that we want. Now it’s time to cut it to its final length or width. Using a 1 ½” strip that we’ve cut off the back of this board using the table saw, we are going to mount that to the wall. Then we will use a welded steel floating shelf bracket. This is a specially designed piece of builder’s hardware that has pins that the shelf slides over. These are made by several companies such as Big Teddy, Dakoda, Urban Railroad Company, Delhuston Designs, and Tech Team https://techteamproducts.com/ . We chose the Tech Team product https://www.amazon.com/TECH-TEAM-Floating-Bracket-Construction/dp/B07G1KJ6S6/ref=sr_1_5?s=hi&ie=UTF8&qid=1539526505&sr=8-5&keywords=tech+team+floating , https://www.amazon.com/Tech-Team-Floating-Bracket-Heavy-Duty/dp/B07G1GT662/ref=sr_1_26?ie=UTF8&qid=1544212238&sr=8-26&keywords=tech+team as it is far stronger than all of the others because it has ¾” pins rather than 5/8”.
What we did was basically make a 2×4 jig and jointed two sides of it so that they were perpendicular to each other, and then mounted the shelf measuring from the bottom of the jig. It’s not perfectly flat along the bottom of the jig because the shelf itself moves, and this is what we will reference off of my drill press table. These holes could be up to 6” deep and 7/8” diameter but we don’t have that much stroke in the drill press therefore, we will use a spade bit and a variable speed cordless drill for this.
When this portion of the shelf is mounted to the wall, we slide the removable portion over the steel pins. It is going to be a pretty smooth fit. We want to make sure it’s not going to slide off with any seasonal changes in the wood, as if you were to grab onto it we don’t want it to be able to pull it off or anything like that. So what we’re going to do is take an 8/32 machine screw, we’re going to recess, drill, and tap it in the removable portion of the shelf, so that when you slide this portion on, you can drive this screw tight against these steel pins and make sure the shelf does not come off.
Now recess the head of the screw underneath the surface of the woods that you don’t see it. Then with the proper sized bit to allow you to tap for this 8/32 screw, we’re going to drill through to the pilot hole for the pin so that we can set the screw down there and pinch everything in place, and lastly an 8/32 tap. Now we’re going to sand the boards outers using 120 and then using 220 grit of my favorite aluminum oxide sandpaper. The space we need to mount this in is 48”wide and our shelf is 24”, so 25” is the center, and we will go from there.
There you go. The shelf is done, it was a relatively simple project, and the mounting method actually worked out pretty well.