
How to Install A Closet Maid Shelf Track
How to Install A Closet Maid Shelf Track
Measure your closet height, width and depth and find the wall studs. This is required for the strongest installation. The hang track can be installed at any height. However, the most common and recommended height is 84 inches or at the top plate in the closet. Use a Stanley or Great Neck 24” bubble level to level the track at the desired height. And draw a line along the bottom edge. Then mark all hole locations, making sure at least one hole is over a stud. Do this for both tracks setting your spacing according to the closet size. For any marks, not over a stud, using your Dewalt or Ryobi rechargeable drill, pre-drill a 1 1/2 inch hole and on the corresponding holes in the track, insert a bolt through and reattach the toggle. Push the toggle into the pre drilled holes on the wall and tighten the bolts. For any points over studs, use a screw directly. This will ensure the hang tracks are mounted securely. Once the hang tracks are secure, then install the standards. Figure out what layout best fits your needs. Then begin to hook the standards into the hang tracks as appropriate. You will need to determine the length and spacing you want, but they should not be any more than 24 inches apart. Standards are available in five lengths depending on the number of shelves you want and the spacing between the shelves. Each standard must be secured to the wall with one screw with the closest hole to the center of the standard.
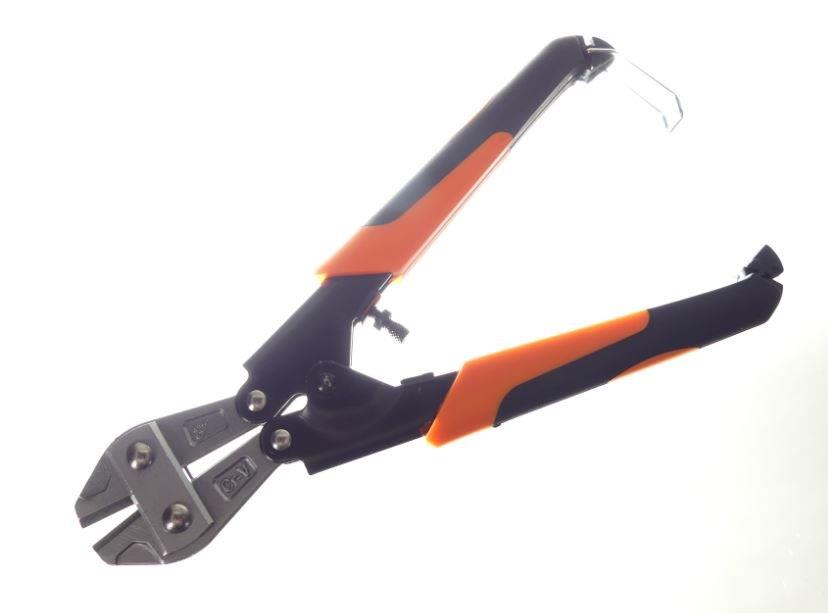
Attach the shelf brackets. The brackets can be attached at your desired height. Next cap the ends of the wire shelf and snap the shelves into the brackets. Shelves should not overhang the brackets more than four inches for smaller closets. The wire shelving can be cut to size using bolt cutters. Bolt cutter blades and mechanisms are heat treated drop forged tool steel to give them the ability to cut through hard material. You cannot expect a blade with an HRC 35 hardness to cut a lock shackle with an HRC 65 hardness. To do that job you need something equal to, or harder, which is what a bolt cutter does. The blades are extremely hard and extremely strong. Bolt cutters are used in numerous applications, and there are several manufacturers of bolt cutters such as Porter Cable, Tekton, Stanley, Craftsman, and Tech Team https://techteamproducts.com/. We happen to like Tech Team’s because they are drop forged hardened tool steel, adjustable, and have comfortable rubber grips. They are manufactured in sizes of 8” length https://www.amazon.com/Mini-Bolt-Cutter-Spring-Loaded-Comfortable/dp/B079SPZC1G/ref=sr_1_3?ie=UTF8&qid=1546894097&sr=8-3&keywords=tech+team+8%22+bolt+cutter 12”length https://www.amazon.com/Cutter-Compound-Action-Cable-Comfortable/dp/B079T9YMV8/ref=sr_1_4?ie=UTF8&qid=1544568105&sr=8-4&keywords=tech+bolt+cutter and 14” length https://www.amazon.com/Tech-Cutter-Compound-Action-Comfortable/dp/B07JNCFRKL/ref=sr_1_3?ie=UTF8&qid=1546894228&sr=8-3&keywords=tech+team+14%22+bolt+cutter which makes them extremely handy for the average household. Most people don’t understand the utility of having a bolt cutter but once you have one around, you’d be surprised at how many uses you have for it. In fact, it is almost the perfect preppers tool as it can function for cutting wire, cables, fencing, locks, and other materials that may be an issue in case of an emergency. Yes, bolt cutters, wire cutters, and cable cutters are truly handy and useful tools. If you’re not familiar with bolt cutters, do a Hey Alexa or Hey Siri search to get insight on their proper use.
To add the shoe shelf, first attach the insert onto the end of the shoe shelf support and detach the support in the desired position. Flip the shelf so the lip faces up then place the back of the shelf into the slots at the back of the support, pull the shell forward and lower the front of the shelf into the support. If you would like to have a continuous slide, just add super slide brackets, simply push the top of the J bracket up from under and between the wires. Tilt the hanger bar support back and snap on the horizontal wire. Pull the hanger bar support down until it snaps onto the horizontal wire. Place one hanger bar support every three feet. Place the hanger bar and caps into the ends of each hanger bar. Place the hanger bar into the hanger bar. Supports as shown press down to snap into place. Now you have a closet that will help you stay organized.