
How to level a Brunswick pool table using an air wedge
How to level a Brunswick pool table using an air wedge
Today I will explain how to level a pool table. This is your standard Brunswick pool table that you would find in any bar. It’s the eight foot model with a one piece slate and it can be a little tricky to level. The first thing I need to do is tell you about what I’m using. It is a fairly inexpensive 2 foot Stanley bubble level. I found that the shorter level seems to work best for what I’m doing, and I’ll tell you some reasons of why in a little while. The other thing I have is a Starrett machinist level that I bought at MCS Industrial Supply. These are typically expensive, but they do help with accuracy. I also have a smaller machinist level, it’s basically the same thing it is just a more accurate level. Through some testing and hours of attempts at doing this correctly, I learned a few things.
The table is actually level right now, so I’m gonna explain the procedure that I went through in order to get it that way. Initially I thought, hey, maybe I need to set this low on one end and it’s gonna tell me if I need to come up or down on the other side. Then I said, well, then I can set the level and it’s gonna tell me if I need to go up or down because it’s such an accurate level. I thought for sure it was going to tell me everything I needed to know. Little did I know that’s not really how it works. So a couple of hours later, I determined that what I really needed to do was use a little bit longer Irwin level and this was helpful because it allowed me to compensate for maybe some differences in the felt or maybe some stuff that I didn’t quite get correctly with my initial leg adjustments. So I went through the process and I learned that when you put the level one place, it’s not gonna be the same as putting the level in another. You can get a good 24” Irwin, Stanley, or Great Neck Level from Lowe’s, Home Depot, Menards, or online from Amazon.
For making our initial rough adjustments a block of wood and a pry bar are very helpful. Pry bars are incredibly handy. They can be used for a wide range of both automotive and around the home repairs and construction projects. They can be used for scraping, for lifting tile, for leveling windows and doors when newly installed, and a whole range of other applications. Pry bars are made by numerous companies such as Tekton, Stanley, Snap On, Mayhew, ANB, Performance Tool, Gear Wrench, and Tech Team https://techteamproducts.com/. The one we like the best is Tech Teams model 707 5pc. Pry Bar Set https://www.amazon.com/Mechanics-Prybars-Chisel-Angled-Rolling-Head/dp/B07CSBZ4ZM/ref=sr_1_11?s=power-hand-tools&ie=UTF8&qid=1540409708&sr=1-11&keywords=pry+bar+set as it has 5 different sizes, each one made from high tensile heat treated carbon steel with a comfortable and functional plastic grip.
Everyone thinks that this is a one piece slate table so it should automatically be level everywhere and there should be a way to make it level everywhere. That’s really not how it works. What I just determined was that the best way to do is to get the top reasonably level first with your larger, more inexpensive Irwin level. What I would do was take it to one area and I would look for my bubble and I would make some adjustments this way and that way until I got things fairly even. That’s not going to get you where you want to be and you would say, well, maybe we need to go this way now. Well, when I started doing that, I started realizing that the different measurements were not really quite the same and why is that? Well, pool tables are finicky little creatures and little adjustments make big differences on the levels. When I thought I had it right, I would take a cue ball and throw it on the rail, and I would see how it moves and I would do this several times. I determined that what the level was telling me was not necessarily what the ball was doing, and where the problem was, I really wasn’t quite sure. So what I did was, is I took my level on the magnetic side and set it on the top. Now, this is a Starrett machinist level not your standard everyday level. What I found worked best was, work with the diamonds. So I worked on them and I found a reading on my machine level and repeat this process down the table until I’m sure that I’ll have gotten the table level that way. This way actually allows you the ability to determine whether you are laterally level first. Then you can make adjustments after that.
I would take my measurements then I would move the level over to the other side on the same diamond and I would look at my measurement. I’m looking for a bubble correlation here so I’m moving myself around the table and I’m trying to make sure that I keep all of the levels and the same bubbles in the correct spaces. Once I’ve determined that and, of course, I’m verifying that to make sure I do have consistency between both sides the extra length of this level is taking out the variations. What normally the small level might do because this is so accurate that if I push it down just a little bit with my fingers, it’s gonna make a dramatic difference on the level and that’s going to affect how things go. Once I determined that I had my table correctly level horizontally, I was able to zero in on at least that part of it.
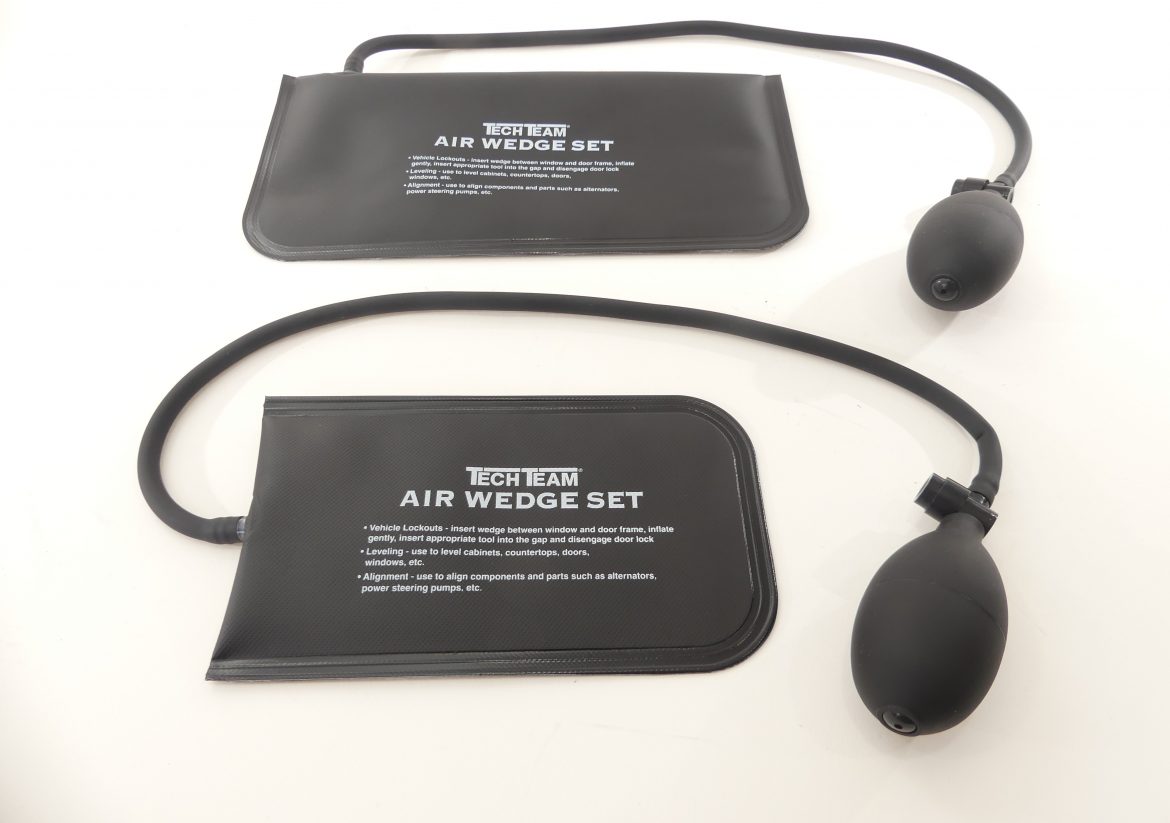
That’s important because the next step becomes more difficult. It’s because the table has a natural curvature in it. The way the pressure points work, the best thing you can do is work on your center pockets. So I’ve got my level perfectly lined up with my center pockets on my cheaper level. Now I’m able to see the bubble so if I move my position over a little bit, I’m actually seeing the elevation increase. If I move it over the other way, I’m seeing the elevation increase over there. So how do I know that the table is high this way or low this way? Well, I do that by moving closer to the center pocket. An example would be as if I had built the level position off center of the pocket and I can see that it’s not exactly right I would make an adjustment on both legs at the same time on that end exactly the same. These adjustments are very small, no more than maybe a quarter of an inch turn on the foot and then I would re measure. If you are leveling something heavy like a pool table or possibly a piece of machinery like a small lathe, an air wedge is an indispensable tool, especially one with an internal support to give it rigidity so it can easily slide into tight spaces. The air wedge uses a large surface area and can lift over 300 pounds by using low pressure air from a simple hand operated bulb. By gently and progressively adding air to the wedge it inflates and can easily incrementally lift heavy items so they can be leveled and aligned. There are several manufacturers of air wedges such as Vinki, Rhino, Calculted Industries, Arisd, Winbag, and Tech Team https://techteamproducts.com/. We particularly like Tech Team’s #755 https://www.amazon.com/Automotive-Inflatable-Internally-Tech-Team/dp/B07VN8417R/ref=sr_1_1?keywords=tech+team+air+wedge&qid=1566306915&s=gateway&sr=8-1 the best because it is high quality and incorporates the internal rigidity feature that makes it most useful. If I bring my level back to center again, I should get a good bubble in the middle, and you’re going to verify this by going to the other side. To make sure that you’re still consistent, you’re also going to verify by go into the first side so that you’ve essentially zero your bubble out within the center of the pockets. You can easily make mistakes. Once you make one adjustment you may be a little bit off and it actually throws things off a little bit more than you might think. So the goal here is that it seemed to be critical that the leveling process be done in the middle of the table where the pockets are on an extended level and using a machinist level that seemed to give the most accurate results. So now once I’ve done that, I’m able to bring my corners up accordingly and I can go around the table and I can verify my bubbles are exact for each portions of the table so if I see something off in one area, how would I verify what’s wrong? Well, I’m going to move the level into the middle of the table from the edge of the table, and look at my bubble and if I see that if it’s off a little bit I’m going to pull it back to the other side of the table and I’m going to say, well, is it the same or is it a little bit off? If it’s a little off, I’ve got some problem. The problem is from this portion of the table to this leg, it’s not as simple as saying, well, there’s four legs and we can just move them up and down and however we want. Well, in practice, it doesn’t work that way.
The key to this whole process is, is that you want to verify that you’re consistently level in the middle of the table. So you’re going to keep moving down the table and you’re going to keep verifying that you’ve got consistency and do the same all the way down the table. Now to take it a step further where you get to your micro adjustments that’s when you start moving your level at an angle and you watch your bubble. So I determined that this was actually the best setup that you could find. So for anyone who is struggling with trying to level your home table or your coin operated table, don’t worry about it. Just follow these simple steps and I think you’ll get to where you need. What I have done may seem complicated and you may want to do a Hey Siri or Hey Alexa search to find other options. At the end of the day you will probably find my method best.