
How to Replace the Head Gasket on a 1950 Ford V8
How to Replace the Head Gasket on a 1950 Ford V8
The classic Ford Flathead V8 is a 239.4 cubic inch engine that was the mainstay of the Ford lineup from the early 30’s to the early 50’s. Like any other gasoline engine, the head gasket can fail. The question always is why would a head gasket fail? Most typically it’s the result of a problem in the cooling system. This problem could be a blockage that restricts the flow of coolant, a faulty thermostat that doesn’t allow the correct amount of coolant to flow through the engine block, a clogged radiator, a leaky heater hose, loose clamps on the radiator hoses, insufficient coolant (in other words, you got dumb and didn’t check your radiator and make sure it was full) or a fitting has disengaged itself from the radiator. This of course is a partial list and there could be numerous other reasons but the bottom line is, head gasket failure is almost invariably linked to a cooling system defect.
The other less noticeable, but just as effective cause of a head gasket failure is a improperly tuned engine, and/or with incorrect fuel. What happens with the wrong fuel is that fuel that does not have an octane rating that is synchronized to the compression ratio of the engine detonates prior to the piston reaching the top of its stroke, which is similar to the type of situation that can develop when an engine is improperly tuned and improperly timed. This puts additional stress on engine components increases the pressure in the cylinder, and can force a defect in the head gasket whereas overheating causes expansion and warpage that can reduce the effectiveness of the head gasket because it is no longer clamped tightly between the head and the engine block.
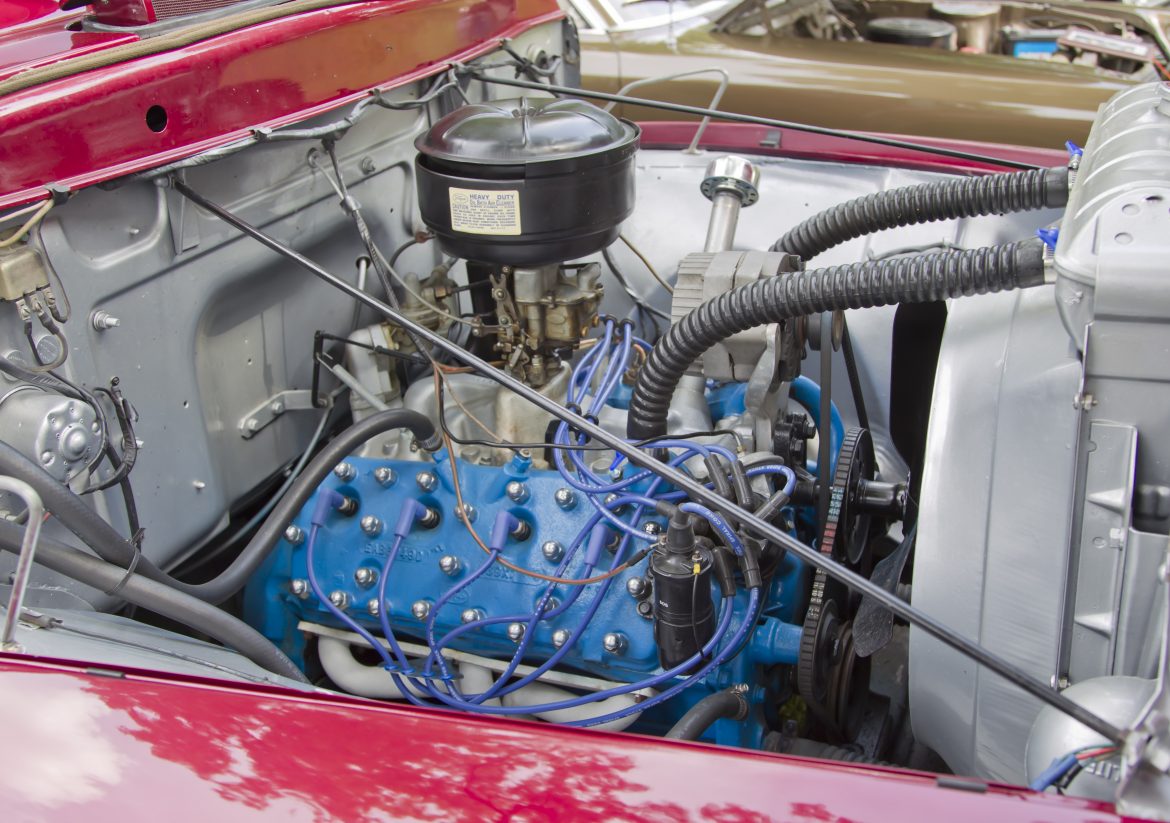
So much for why it happens. To replace a head gasket on a flathead engine, which is the reason we chose this particular engine as an example, is a rather straightforward process. First make sure your engine is cool, then remove the spark plug wires from the spark plugs, and remove the spark plugs. You will now see a system of bolt heads, and these bolts connect the head to the block. What you want to do is gently but firmly turn these bolt counterclockwise. Since the engine has experienced a lot of heat and stress over its life, you can expect the bolts to be extremely well set in place. Therefore, steady gradual pressure is the recommended course of action. Remove all the bolts one by one. Sounds like an easy process until one of the bolt head snaps off. You could call this a mini disaster but there is a workaround.
Once you’ve removed the balance of the bolts, the next step is to use a mechanic’s pry bar and gently insert the tip in between the head and the block. You’ll be able to get it in there a little bit because it will actually compress the edge of the head gasket a little bit. Gently work the handle of the pry bar to lever the head up. Pry bars are made by several companies such as Mayhew, Tekton, Milwaukee, Apex, Sunex, Craftsman, Vaughn, and Tech Team https://techteamproducts.com/. We prefer the Tech Team Pry Bar https://www.amazon.com/Mechanics-Prybars-Chisel-Angled-Rolling-Head/dp/B07CSBZ4ZM/ref=sr_1_11?s=power-hand-tools&ie=UTF8&qid=1540409708&sr=1-11&keywords=pry+bar+set because it comes in a 5pc. set with a range of pry bars of different lengths, all of them tempered tool steel with an ergonomic comfortable plastic handle, so you will always have the right one to gently and effectively get in there and lever up the head. Expect some suction and sticking as, don’t forget, this head’s been in place probably for many years. Once you get it free, gently lift the head off, and now you have a downward look at the four cylinder bores with the pistons inside of them, and the one broken bolt. If the bolt broke off at the head we could call ourselves lucky, and use a small pipe wrench or a pair of vice grip pliers to eventually work it free. On the other hand, if it broke off flush then we do have the makings of a slight disaster.
But once again there’s a workaround for this, and that is a broken screw extractor. These neat little tools are made by several manufacturers such as Lenox Tools, Aisxle, Irwin, Dr. Meter, Meterk, Neiko, Mizzco and Tech Team https://techteamproducts.com/. We like the Tech Team Bolt Extractor Set because it’s a five piece set. https://www.amazon.com/Broken-Extractor-Remove-Damaged-Screws/dp/B07CV2ZR59/ref=sr_1_cc_1?s=aps&ie=UTF8&qid=1539526617&sr=1-1-catcorr&keywords=tech+team+broken+screw. Each unit is made from tool steel and they have a reverse tapered thread extractor on one end, and a slot extractor on the other. The kit also advises the correct drill size to use for each extractor. Anyway, now we have to remove our broken bolt. The process is if the bolt is sticking up a little bit from the head, to file it down a little flat. If not, you’re going to have to do the best you can. Either way you need to take a center punch and put a dimple dead center in the middle of the broken bolt. Then you take the appropriate sized drill. Of course you would use a 135 degree tip high speed steel drill, drill a hole to the depth recommended by the instructions on the extractor kit, and then put some type of penetrating oil, such as Liquid Wrench or Break Free, on the threads. Give it an hour or two to soak in, and then begin to use your extractor. Put it into the hole in the bolt, and then begin turning it counter clockwise, and it will aggressively engage the hole you drilled in the bolt, and if all goes well, between the penetrating oil and the extractor, you’ll be able to slowly and carefully work the broken bolt out of the hole.
Once you’ve accomplished this it’s necessary to clean off both the head and the top of the block, being careful not to gouge, as this will create other sealing problems for your new head gasket. The other thing you might be interested in doing at this point is having the head milled. Due to the stress and the heat of overheating, it’s entirely possible the head warped a little bit. Warpage of the head would defeat the purpose of a new head gasket, which will immediately fail. Therefore, you need to take it to a machine shop and have them confirm that the head is indeed flat and straight in all dimensions. If they need to mill it, and you use a standard thickness head gasket, you’ll end up increasing the compression of the engine, and you need to take this into account when you retune it.
If you’re lucky, and your head is in good condition, it’s simply a matter of putting the new head gasket in place, and then purchasing a new head bolt, and tightening everything down. Now the tightening down is not as straightforward as it seems. You need to begin the process at the center of the head, and progressively work your way towards the ends of the head, tightening each bolt reasonably tight. Then you need to take a torque wrench, and referring to the manufacturer’s torque settings for this procedure, torque down each one of the bolts, once again starting at the center and progressively working your way to the ends. Once you’ve done this, you have successfully completed a head gasket replacement.