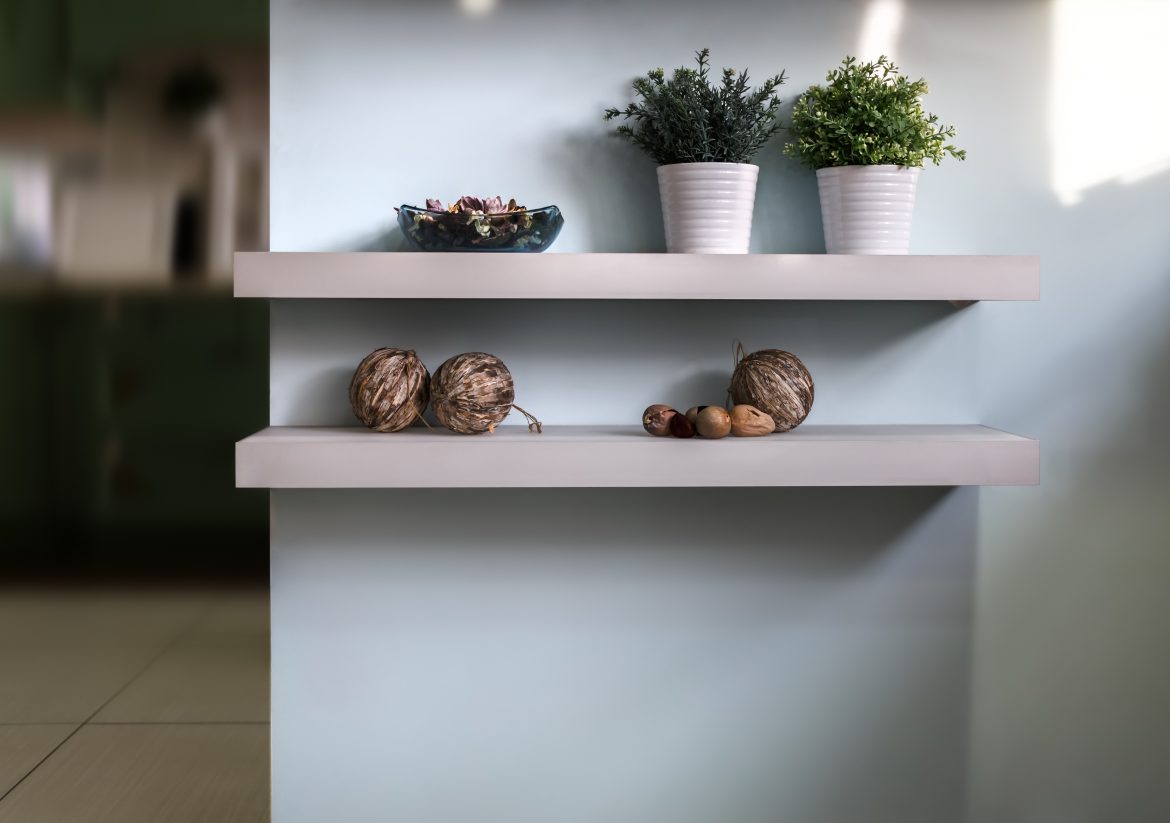
The Best Way to Build Solid Floating Shelves

The Best Way to Build Solid Floating Shelves
There are lots of ways to build floating shelves. I am finishing a project for my wife and the last thing to do is build floating shelves. I like the idea of doing away with the shelf support brackets, but in my own mind I wonder, how do you make the shelf strong enough without brackets? The answer is that it is impossible to build weight bearing floating shelves without adequate welded steel blind shelf brackets.
The strength of the shelf is achieved through the way its internal structure is attached to the wall. If you connect to studs with screws or bolts, you’re way ahead of the game. If that’s not possible, then attaching with fasteners that clamp to the face of the sheet rock to hold the support in place is the next best option. The shelf that goes over the structure and provides your finished look for your floating shelf also needs to be as lightweight as possible, because in doing that you allow more weight to be placed on the shelf and not create a problem with sagging, or worse yet, pulling drywall away from the studs. So the idea it is pretty simple, and uses a 1” x 1 ½” piece of pine lumber attached to the wall, which has suspended off of it a welded steel shelf support bracket. After working with welded steel brackets, I can see how these things can be incredibly strong. With a little forethought and planning you can make a solid strong weight bearing shelf that will look great.
One of the benefits of installing floating shelves in corners is that the support structure is significantly stronger because it’s mounted on 2 axi. However, it also creates a challenge because corners are typically never square. To get an accurate shape for these corners build a template. This method can be used not only for this situation but, for building countertops or basically any circumstance where it’s difficult to get an accurate shape, because simply taking measurements with a tape doesn’t pick up on the small variations and angles that may be there. Use strips of 1/8” Masonite or cardboard cut to the lengths that are needed to create the shape of the shelves. Then use a hot glue gun to hold them together to form your template.
A good way to form shelves is using pieces of ¼” plywood that are laminated with hardwood trim on all surfaces. You can use ¾” alder and ¼” alder plywood. A ¼” deep by 3/8” wide joint in the hardwood edge will allow the plywood to be glued and nailed in place, and then flush it out with the trim.
After a quick dry fit of the pieces and everything’s looking good glue attach it together. Make the template so that it will be the size of the plywood pieces you need to cut. Once all the pieces are assembled, the template then provides a final verification that you cut everything right. Do this before you put the time and effort into staining and finishing the pieces, then do one more fitting of the shelves on the brackets to confirm the fit.
There are many brands of floating shelf brackets on the market such as: Dakoda Lane, Big Teddy, Urban Railroad Company, and Tech Team https://techteamproducts.com/. We chose the Tech Team brackets https://www.amazon.com/TECH-TEAM-Floating-Bracket-Construction/dp/B07G1KJ6S6/ref=sr_1_5?s=hi&ie=UTF8&qid=1539526505&sr=8-5&keywords=tech+team+floating or https://www.amazon.com/Tech-Team-Floating-Bracket-Heavy-Duty/dp/B07G1GT662/ref=sr_1_26?ie=UTF8&qid=1544212238&sr=8-26&keywords=tech+team because they had solid ¾” pins rather than the 5/8” pins on the all the others.
