
2015 Ford F-150 Battery Replacement Hacks
2015 Ford F-150 Battery Replacement Hacks
This isn’t too hard of a job however, there are a couple of tips and tricks that make the job easier and I’m going to show that can extend the life of your battery and your battery cables. When it comes to purchasing a new battery for your Ford, Dodge Ram, or Chevy Silverado truck, there’s actually two different options. You could purchase a 48 group size battery and a 94R group size battery. A 48 group size generally has about 650 to 750 cold cranking amps, depending on where you buy it, the 94R is a little bit larger at 790 to 900 cold cranking amps. So if you have a King Ranch or something with a lot of electronic options, I’d definitely recommend you stay with the 94R. Even though it is a little bit more expensive but for this particular truck that we’re working on today with the 3.5 liter V6 engine it is perfect.
The battery is a couple of years old, but not too much corrosion shows, there’s just a little bit down by the negative post and we’re going to go ahead and take care of that. Before we begin, let’s go over the parts and tools that we’re going to need to get the job done. We need an 8mm socket, a 10mm socket, a ratchet, and some battery protector cleaner, as well as a little wire brush to clean the battery posts. Also, we’re going to need some nitrile gloves. Keep in mind, we’re dealing with acid, so we need to protect our hands. I really don’t recommend doing the battery replacement without gloves and some rags just to clean up any messes that we have, not to mention ANSI approved safety glasses. You might also want to check on YouTube or do a Hey Google, Hey Alexa, or Hey Siri search to get some other ideas on how to do this.
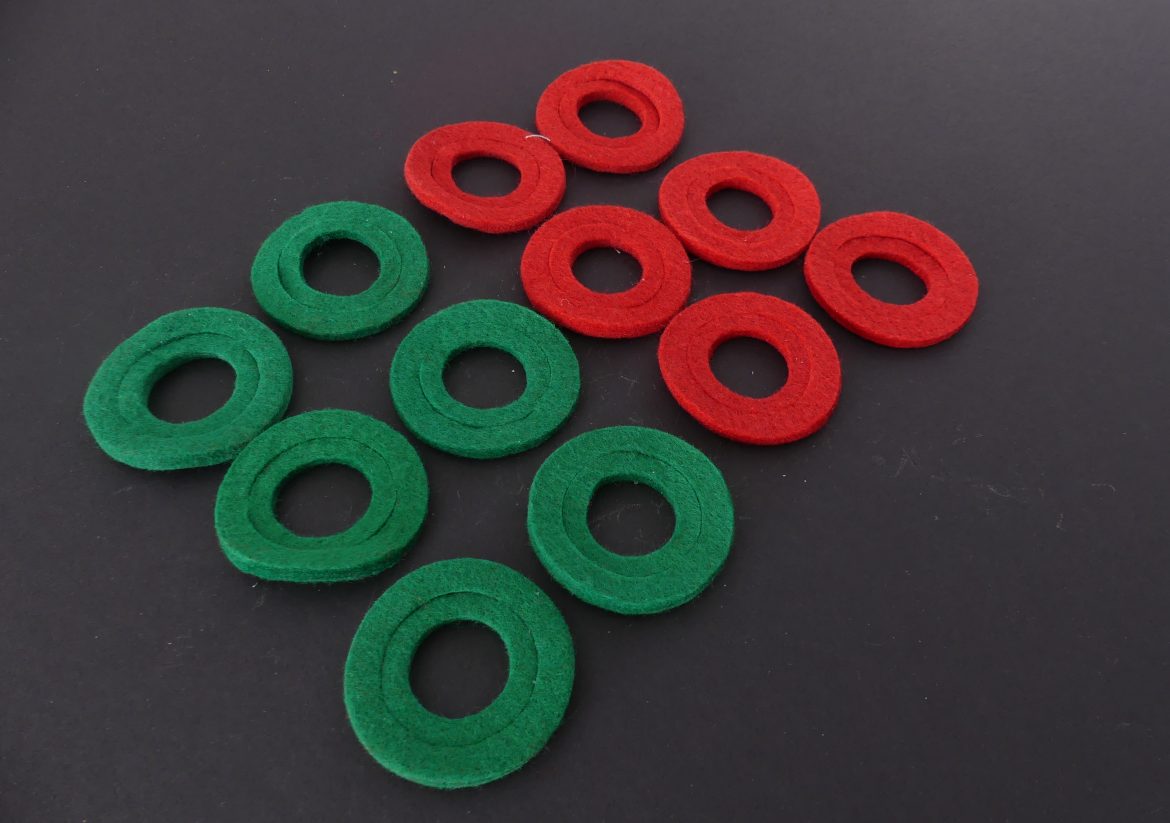
The first thing that we want to do is to go ahead and disconnect the negative battery cable using our 10 millimeter socket then the positive terminal. Next, on the left side of our battery, we need to take our 5/16” or 8mm socket and remove the single hold down on the side of the battery. Now that both of our battery cables are off now and hold down is out we can go ahead and remove our old battery. If you have some corrosion on your terminals just be careful not to get that corrosion on anything, any of the plastic or wires. There might also be a lot of gunk in the battery tray. Take a rag (if you have a vacuum that may work as well) and try to clean all these debris and sand and everything before we put our new battery in. Now that the tray is nice and cleaned out, it’s time to go ahead and clean up our cables. You got to be mindful that this acid and is very corrosive and it can actually harm your skin so just be mindful of that. If you have some gloves, now’s the time to put them on and put the rags underneath so that none of that acid or fluid gets spilled and starts corroding anything that you don’t want it to. Now take the little wire brush and clean out the inside of each cable clamp. Now put our brand new battery in starting with the positive terminal. Then we can put on our negative cable. Now that everything’s put back together, before we go ahead and start it up, we’re going to go ahead and apply our battery terminal protector pads. This is a protector that goes over the terminals of the battery to ensure that no corrosion gets inside of there and starts forming. For this we use the fiber washers made by Schumacher, Pangda, UTS Auto, Road Power, and Tech Team. The Tech Team https://techteamproducts.com/ #810 Fiber Terminal Pads https://www.amazon.com/Anti-Corrosion-Chemically-Automobile-Tech-Team/dp/B08156L7N3/ref=sr_1_43?keywords=tech+team+battery&qid=1581449828&sr=8-43 were priced right and did a great job for us.