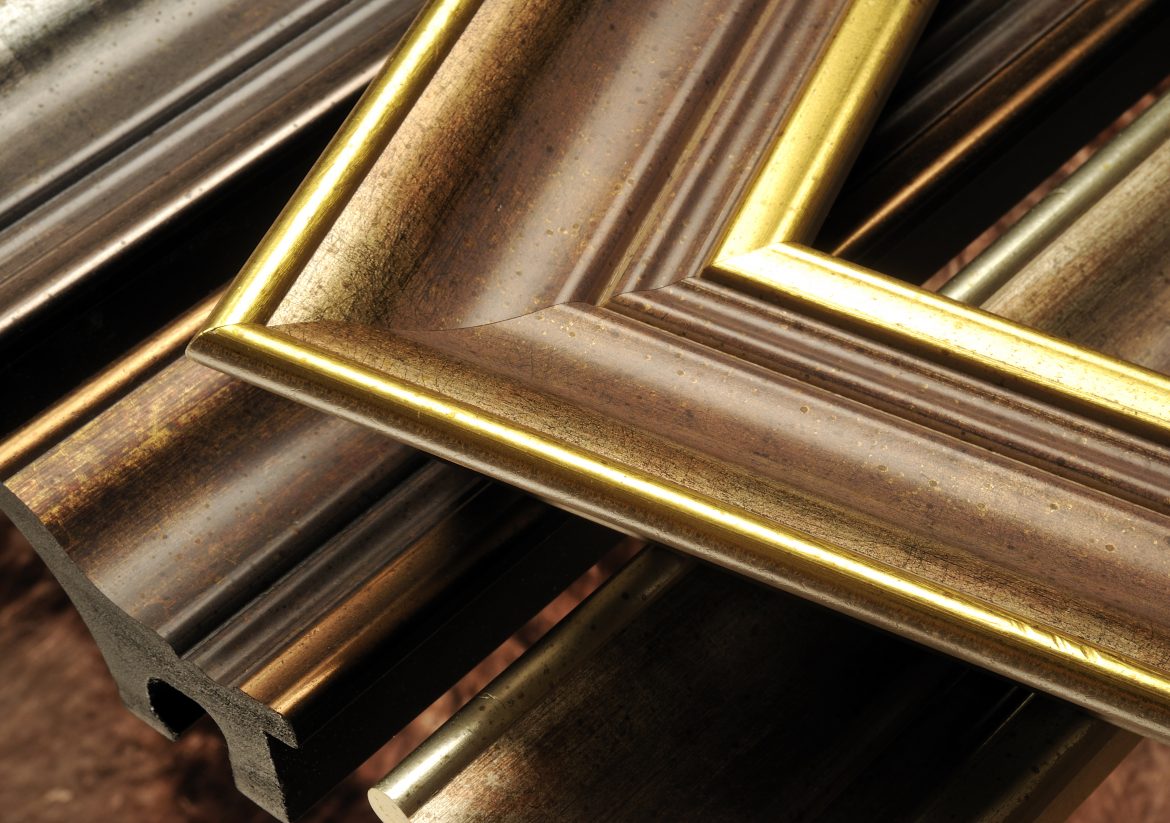
How to Make a Picture Frame.

How to Make a Picture Frame.
Obviously the first thing you need to do is decide on the size picture frame that you want. Moving on from that, you have to decide whether you want the frame to be natural wood with the natural wood finish, or painted. If your choice is natural wood then it must be good quality wood with an attractive grain. On the other hand, if you’re going to paint it, you can use any kind of paint grade material.
Now that we have the wood selection out of the way, the next thing to determine is if you have the tools and the skill to take a piece of raw wood, for example a 1”x3” or 1”x4” piece of lumber, and turn it into a picture frame that has all the contours inletting, rabbiting, etc. necessary to do the job, or if you just want to buy some premade molding that already has all the necessary contour and inletting work done.
To make our frame we will make a few assumptions. The first one is that you’ve already chosen the wood, and it’s going to be a nicely grained piece of seasoned oak. We’ll also assume that you want to make it fairly standard size, such as 20”x24”. The size of the frame defines the size of the artwork that it will hold, not the size of the frames outer dimensions. The first thing to do is to set up a router table and a router, and select a router bit that’s going to give us an attractive contour on the outer surface of the frame. This may be a two or three step operation depending on how sophisticated you want that contour to be, and the width of the frame. Once you’ve determined and executed that particular exercise, it’s time to turn the piece of wood over, and on the inside of the thicker edge you need to cut a rabbit. Once again, this is where you’ll use your router, run the rabbit along the entire inside edge. This will end up being the channel that actually receives the picture on the back side of the frame. You will note that we have not cut any pieces to length yet. The reason is that if we had pre-cut the pieces and then did the router work there is a possibility that we could chip one of the edges or ends. Of course that would be counterproductive. By running all the router work at the same time we eliminate this possibility.
The next step is to use a compound miter saw or a table saw to cut a 45 degree angle on one end of your prepared wood. Remember that the rabbited channel is on the inside of the back, and that all of your cuts will extend upward and away from this point. At this point it’s also a good idea to remind you, if you haven’t figured it out already, to use ANSI approved eye protection, and also OSHA approved hearing protection as wood chips and splinters can cause serious eye damage and the noise from the power tools can easily exceed OSHA recommended levels.
The next thing to do is measure from the inside tip of the channel you cut on the back of the wood 20”. This point would be where you make your next 45 degree cut making the cut extend upward and away from this point. Now repeat the process and the measurements for one additional piece of wood. Now we move on and we do exactly the same thing for a two 24” pieces of wood. And if we’ve done everything right, we can lay this out on a tabletop, and all the corners and miters will meet flush and even with perfect 90° corners.
Now we need to join the corners together. The preferred method of doing this is to use wood glue. Apply the glue according to the wood to the glue manufacturer’s instructions, and join two corners together. Now comes the neat part. To hold the corners together the ideal apparatus is a corner clamp. These are made by numerous manufacturers such as Dr. Machinist, Can-Do Clamp, Powertec, Gochange, Horusdy, Frylr, Wolcraft, Bessex, MLCS, and Tech Team https://techteamproducts.com/. We chose the Tech Team Corner Clamp because of its excellent construction details and its superior designhttps://www.amazon.com/Tech-Adjustable-Woodworking-Aquarium-Workshop/dp/B079SHZRBQ/ref=sr_1_301?ie=UTF8&qid=1540409574&sr=8-301&keywords=corner+clamps+for+woodworking. Keep in mind, to glue all the corners at the same time you will need four clamps. Put the clamps on the tabletop, open them up sufficiently so that both legs of the frame can fit into it, apply the glue, put the corners together, and tighten the clamp to hold everything securely in place. You will repeat this on the other three corners. The glue will have to set according to temperature, and humidity conditions etc. as described on the glue manufacturer’s label.
At this point you might ask might ask why we did not use nails or brads to secure the corners together and the reason is simple The Oak we’re using is on the hard side, and the probability of splitting or splintering a corner by driving a nail into it is rather high. Therefore, the glue is by far the best choice. Now that the glue has set we can remove the corner clamps, and if we were neat in the application of the glue, and we paid careful attention to all the instructions for using the glue, we now have a nicely formed frame with perfectly square corners. There’s only one other step to take at this point, and that’s to put corner braces across the corners on the back of the frame. Once that’s done you have a perfect picture frame.
